Sharing my thoughts on rebounding and why it’s a fun addition to my wellness routine.
Hi friends! Hope you’re having a lovely morning! We’re headed to Hawaii for a bit! I’ll share more of the fun in upcoming posts and you can always find me on IG stories.
Today, I wanted to chat about rebounding since quite a few friends have asked me about it.
Rebounding is one of my absolute favorite ways to stay active and have fun while working out. If you haven’t tried it yet, you’re in for a treat. Today, I wanted to chat about rebounding, explore its potential benefits, and share some ways to incorporate it into your routine.
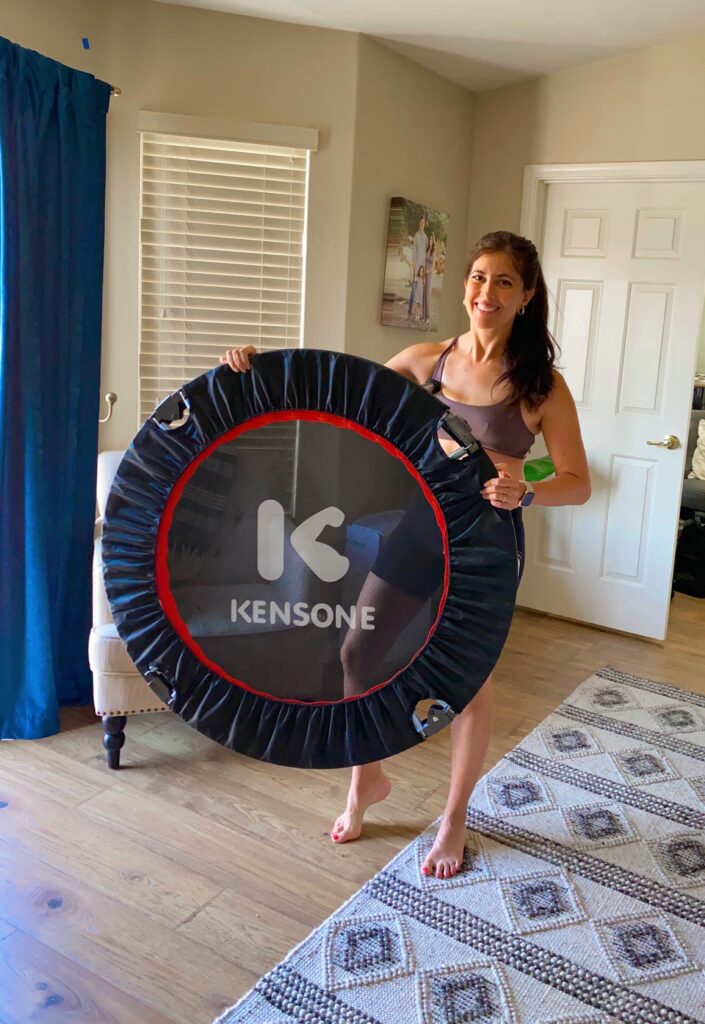
(My rebounder is here!)
Why I love rebounding
What is Rebounding?
Rebounding involves bouncing on a mini-trampoline, also known as a rebounder. It’s a low-impact exercise that can be done at home or in a fitness class. The up-and-down motion of bouncing is not only fun but also effective in working out various muscle groups, improving balance, and boosting cardiovascular health.
Rebounding can be traced back to NASA, where astronauts used it to regain bone density and muscle mass after returning from space. The unique gravitational force experienced during rebounding is said to be 68% more effective than jogging, making it an efficient workout option. Plus, it’s accessible to people of all ages and fitness levels.
Potential Benefits of Rebounding
Cardiovascular Health:
Rebounding gets your heart rate up, which helps improve cardiovascular health. This aerobic exercise strengthens the heart, improves circulation, and helps lower blood pressure. Regular rebounding sessions can enhance overall cardiovascular endurance, making everyday activities easier and more enjoyable.
Lymphatic System Support:
The bouncing motion stimulates lymphatic flow, aiding in detoxification and immune function. Unlike the cardiovascular system, the lymphatic system doesn’t have a pump. Rebounding helps move lymphatic fluid through your body, flushing out toxins and waste products, which can boost your immune response and overall health.
Low-Impact Exercise:
It’s gentle on the joints, making it a great option for those with joint concerns or recovering from injuries. The trampoline mat absorbs much of the impact, reducing stress on the knees, hips, and spine. This makes it a safe and effective exercise for individuals with arthritis or those recovering from surgery.
Improved Balance and Coordination:
Regular rebounding helps enhance balance and coordination. The unstable surface of the rebounder challenges your body to maintain stability, improving proprioception and neuromuscular coordination. This can help prevent falls and imp