Halloween Rice Krispie Treats Recipe

Web Admin 0 251 Article rating: No rating

Sharing some festive ways to enjoy rice crispies this Halloween season!

With the spookiest day of the year just around the corner, I can feel the excitement in the air. Halloween isn’t just about costumes and pumpkins; it’s a fun time to bake up some tasty treats!

Today, I’m sharing a delightful Halloween Rice Krispie Treats recipe—a perfect blend of gooey, crispy goodness that will surely add a touch of magic to your Halloween festivities. Rice crispies are one of my all-time favorite treats; they’re gluten-free, SO delicious, easy to customize, and the kids love them.
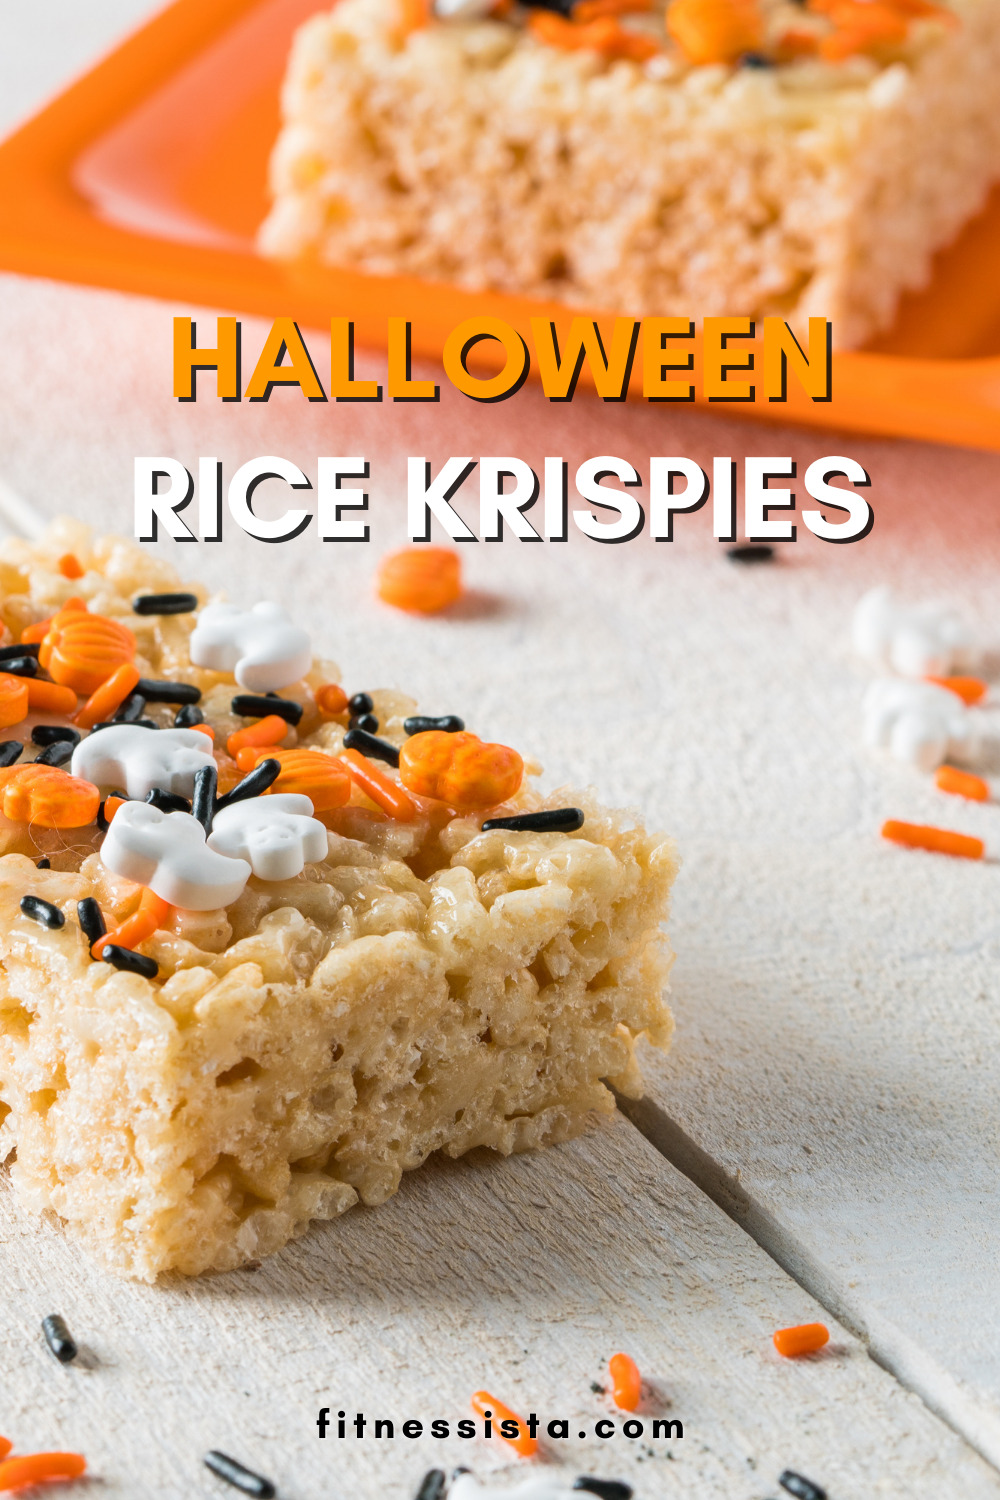
Halloween Rice Krispie Treats Ideas

Spooky Shapes and Silhouettes

Transform your ordinary Rice Krispie Treats into Halloween-themed shapes. Use cookie cutters to mold them into ghosts, bats, or pumpkins. The kids will love getting involved in this creative process. For an extra eerie touch, add black food coloring to the mix.

How-to: Shape the freshly made Rice Krispie mixture with cookie cutters. Enhance the details with a piping bag filled with different colored icing.

Monster Mashup Madness

Unleash your imagination by turning your Rice Krispie Treats into a parade of friendly monsters. Use candy eyes, colorful icing, and various candies to create a variety of goofy, spooky, or silly monsters. It’s a fun way to get creative and like a little art project for the kiddos.

How-to: Decorate each treat with candy eyes, colored icing for features, and candies for added texture. Make each monster unique for a vibrant and playful Halloween treat.

Haunted Graveyard Delight

Take your Halloween Rice Krispie Treats to the next level by turning them into a haunted graveyard scene. Use crushed chocolate cookies for “dirt,” gummy worms for added spookiness, and small tombstone-shaped cookies for decoration.

How-to: Assemble the graveyard by placing tombstone cookies and gummy worms on top of the Rice Krispie surface. Dust with crushed cookies for a graveyard-inspired look.
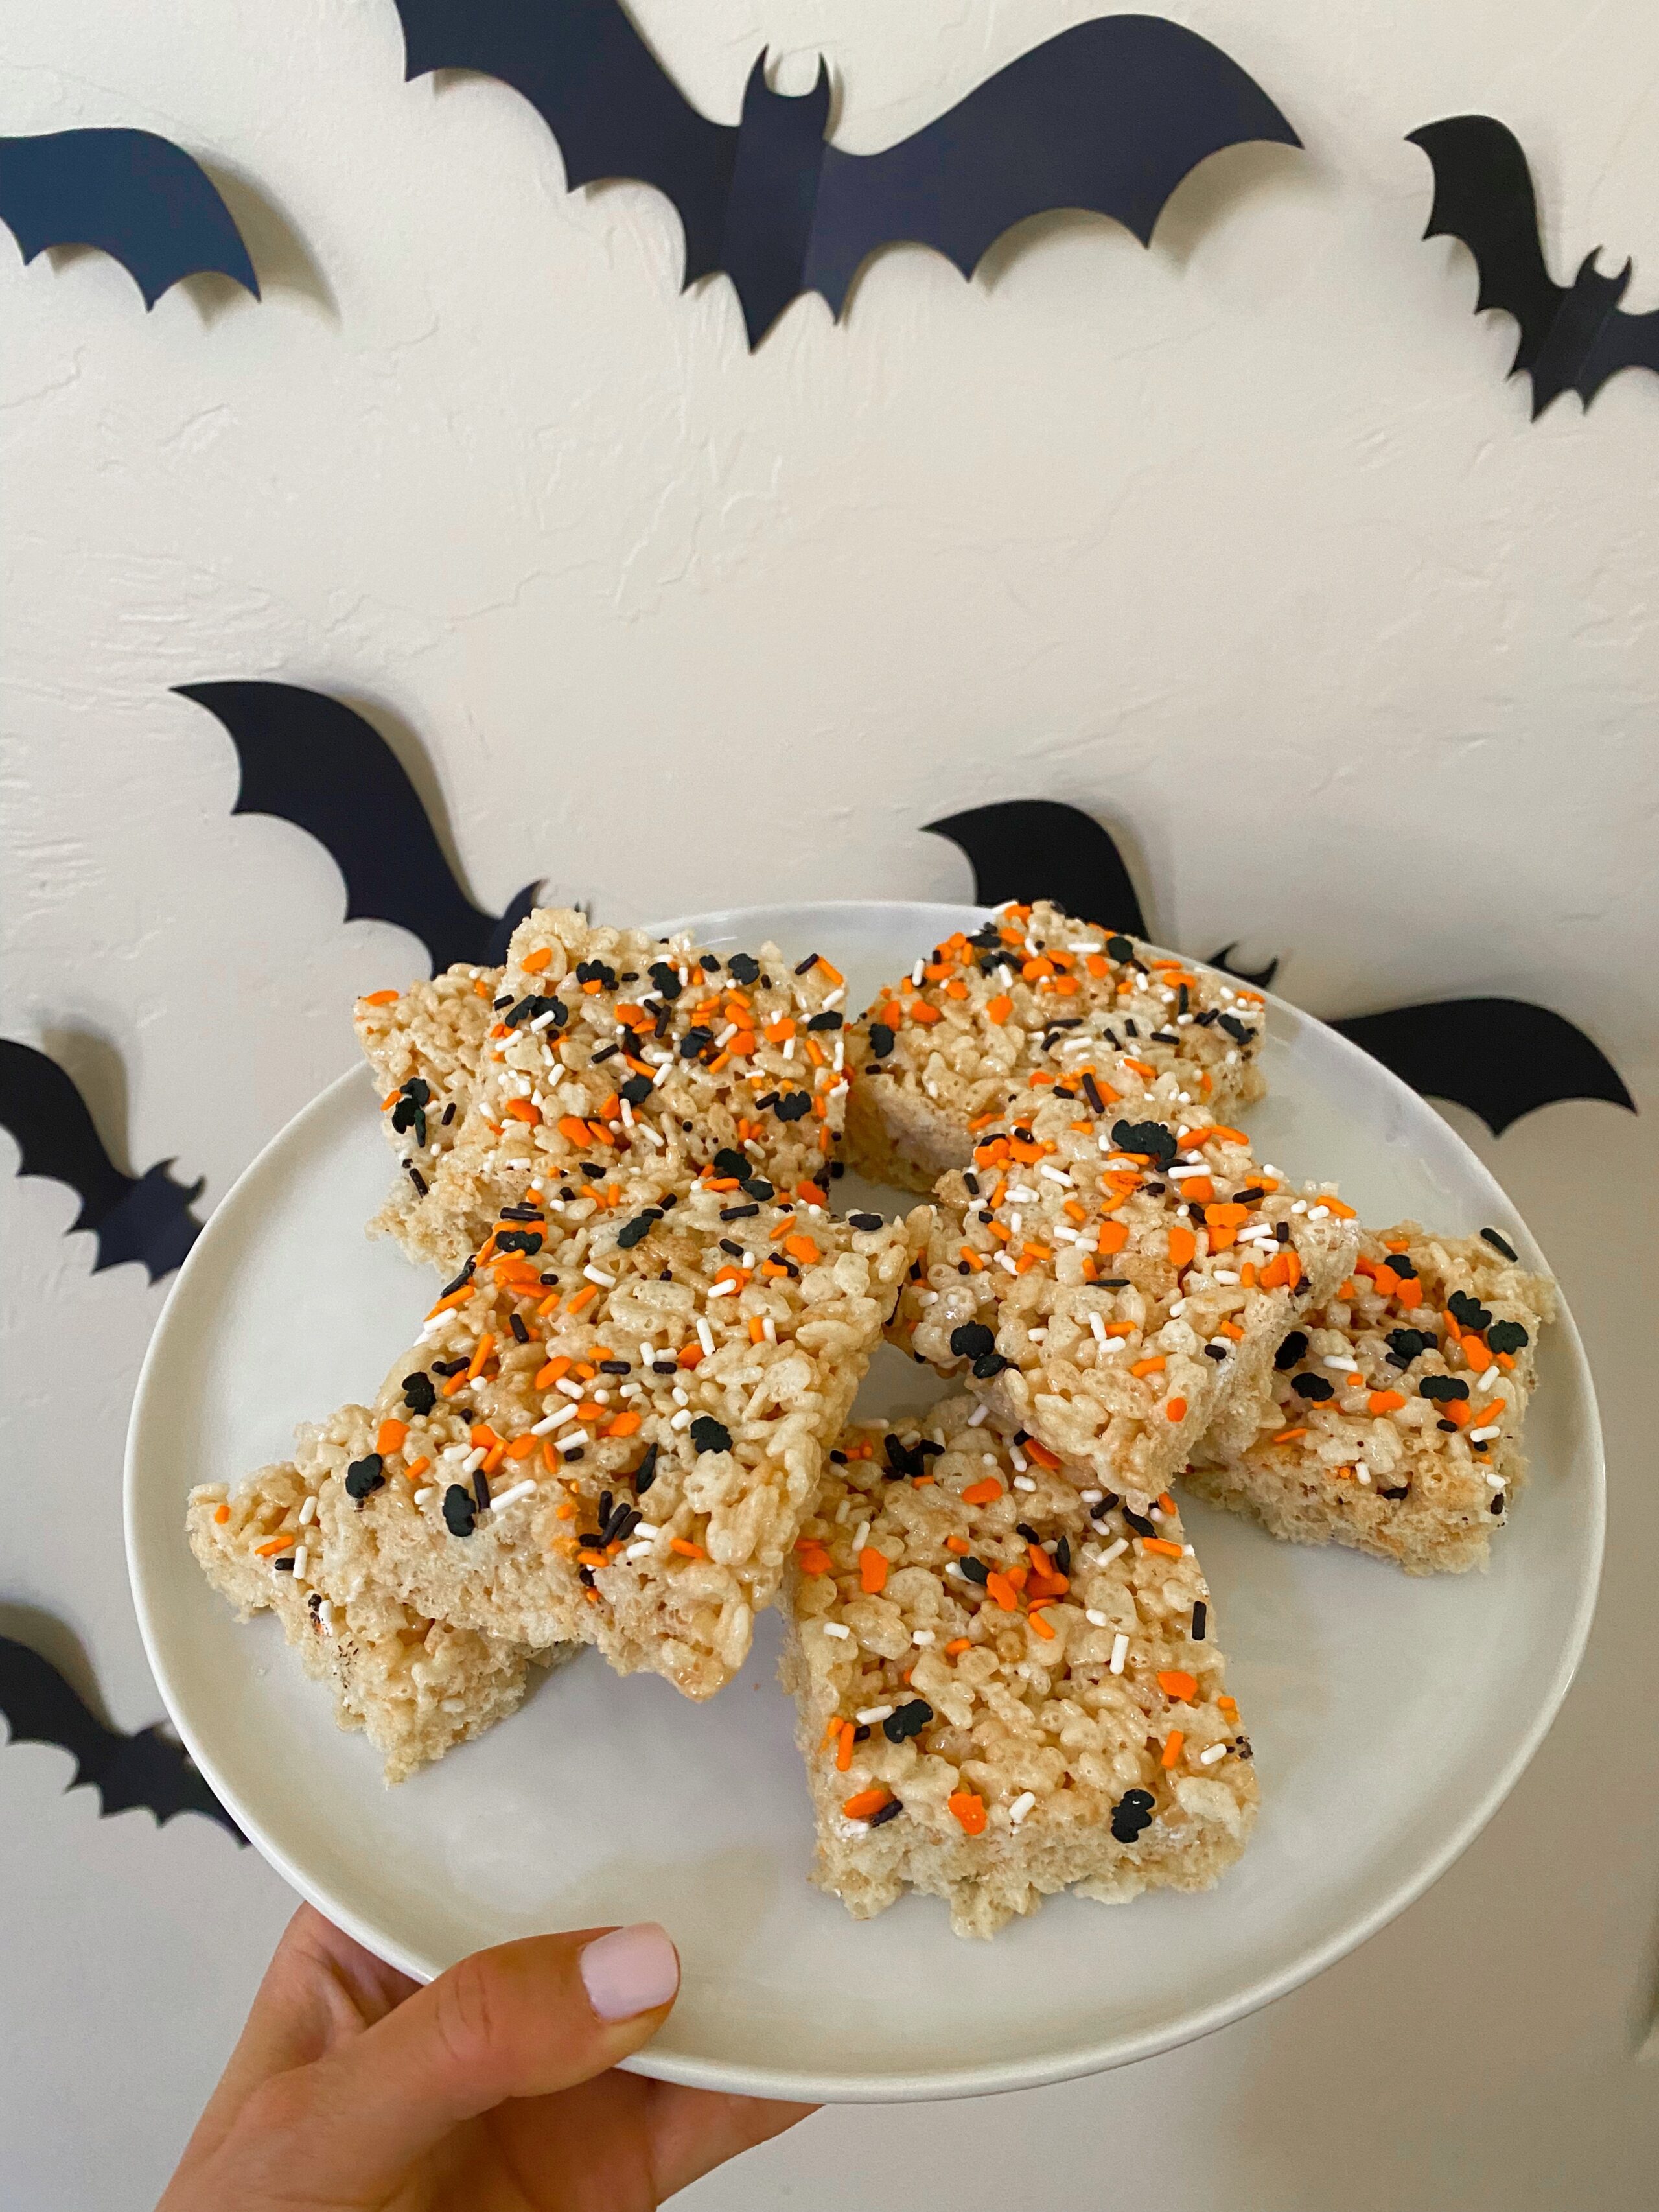
Halloween Rice Krispie Treats Recipe

Ingredients:

3 tablespoons unsalted butter

1 package

The Best Apple Crisp Recipe [+ Video]

Web Admin 0 144 Article rating: No rating

The Best Apple Crisp Recipe [+ Video]

a photo taken over the top of a bowl filled with a serving of apple crisp topped with a melting scoop of vanilla ice cream.

We’ve tried a lot of recipes out there but this is hands down the best apple crisp recipe we’ve found and it can totally be made ahead or frozen.

The apples are coated in a heavy cream and flour mixture to make them all saucy and caramel-y (no, that’s not a word but go with it) and then the oat topping is like a giant, cinnamon oatmeal cookie. It’s wonderful — this is seriously the BEST apple crisp recipe

Creating This Apple Crisp Recipe

There are probably 5 million recipes out there for apple crisp and this is certainly the season for all of those recipes to be all over Pinterest. Maybe we are a tad crazy to be posting this, but I happen to absolutely love hot apple crisp with a scoop of creamy, melty vanilla ice cream. Cade likes to drizzle a little caramel sauce or dulce de leche over the top of his ice cream but I’m a classics girl so I like it just how I grew up with it. 

My family loved crisps and cobblers growing up almost as much as we loved our musicals. Tell me you love them too. What’s your favorite? If you haven’t watched any, well you better get on that or I’m going to be knocking at your door. Seriously. And while you watch them make this homemade apple crisp.

Homemade Apple Crisp Ingredients

This apple crisp has two main parts: the apple filling and the crisp topping.

For the filling, you’ll need:

  • Apples
  • Butter
  • Flour
  • Lemon Juice
  • Heavy Cream
  • Vanilla
  • Brown Sugar
  • Granulated Sugar
  • Cinnamon
  • Nutmeg
  • Salt

For the crisp topping, you’ll need…

  • Flour
  • Old-Fashioned Oats
  • Brown Sugar
  • Cinnamon
  • Salt
  • Unsalted Butter

We didn’t want to deviate too far from the classic apple crisp recipe, because why mess with a good thing, right? The measurements for each ingredient can be found in the recipe card at the end of the post.

Key Lime Bars-Torta De Limão

Web Admin 0 403 Article rating: No rating

Key Lime Bars-Torta De Limão

a photo of a key lime pie bar sitting on a small dessert plate.

These key lime bars hail from the beautiful country of Brazil! They are light, tangy and I adore that graham cracker crust.

Known as torta de limão in Portuguese (pronounced tor-ta gee lee-mow, “mow” like “cow”, not “mow” like “mow” the lawn, English is so dumb), these key lime bars are truly delicious. They are like a lime cheesecake or a key lime pie in bar form. I was re-shooting our photos for our blackberry lime bars and thought I should update these photos too. After all, they are the inspo for the blackberry version!

Torta de limão is a favorite that my husband had when living in Brazil from a sweet lady named, Vania. (Thank you for taking such great care of Cade!! You all meant so much to him!) So, here’s Cade and his thoughts on the dessert. Love you B. *I know his name is Cade, and B doesn’t make sense. Don’t worry about it! *

“I lived in Brazil for awhile and toward the end of my stay I was introduced to this amazing, sweet and tart dessert. At first I thought it was just a lemon meringue pie. As I took my first bite I was taken back by the flavor and texture of it all. It was creamy like banana pudding, but had the crisp peaks of the meringue and graham cracker-like crust. The lime flavor combined with the sweetened condensed milk was an immediate party with my taste buds. This is still one of my all time favorite desserts and brings back many great memories.  I think that’s what food does for us a lot. I cannot remember the names of all the people I enjoyed this dessert with but I made sure I came home with the recipe in hand and the name of this awesome treat!”

Recommended Equipment

Before You Begin…

You are going to need about 18-20 key limes (10 regular limes) for this recipe to get enough key lime juice so start by first zesting 5-6 of them and juicing all 18-20 limes. It’s a lot easier to remove the zest before a lime is juiced.

Ingredients for Torta de Limão

Now is this going to sound crazy, but you’re only going to need 9 ingredients for these key lime pie bars – 4 ingredients for the crust and 5 ingredients for the filling. It is that simple and so incredibly delicious! Here is your shopping list…

For the Crust

  • Graham Crackers: You will need about 21 full graham crackers to get the amount of crumbs you’ll need.
  • Melted Butter: Binds the ingredients together and creates a rich flavor in the crust.
  • Sugar: Adds sweetness to the crust.
  • Salt: Enhances the flavors in the crust.

For the Bars

  • La Lechera Leche Condensada: You’ll find this on the baking aisle by the sweetened condensed milk. It’s a little different than just sweetened condensed milk, so be sure to grab the right thing. It will look similar (and probably be right next to) to the La Lechera Dulce de Leche.

Plum Galette

Web Admin 0 132 Article rating: No rating

Plum Galette

A plum galette on a baking sheet

Take advantage of the remaining plum season to make this super easy Plum Galette. Flaky pie crust is filled with juicy plums, flavored with warm cinnamon, it is the perfect transition dessert from Summer to Fall!

Are you tired of all the heat and already looking forward to Autumn with all of its amazing Fall desserts like this Pumpkin Bundt Cake, or this beautiful Apple Pear Pie? I totally feel you! But I want to introduce you to a great season transition treat, this super easy Plum Galette.

How to make Plum Galette

I used an all butter pie crust or a pate brisee for this recipe. But if you have a pie dough recipe that has been passed down in your family like this Mom’s Magic Pie Crust, feel free to use it instead!

  1. First, make the pie dough and let it chill out in the fridge for about 30 minutes to an hour. When it’s ready, take it out of the fridge and roll out into a circle, about 11” – 12”. 
  2. Slice up the plums and mix them with part of the sugar for about 10 minutes to release their juice. Discard the juice and mix the plum with the rest of the sugar, salt, cinnamon and tapioca flour (or cornstarch).
  3. Assemble the plum slices in concentric circles leaving a border with enough crust to fold over. Brush the exposed crust with egg wash and sprinkle generously with turbinado sugar and sliced almonds.
  4. Bake until golden brown, about 30 – 35 minutes at 400°F.

Tips for Plum Galette

  • Macerate the plums with a little bit of sugar before you mix it with the rest of the filling ingredients will allow them to release some of the juice which can be a lot. This juice is to be discarded or reserved and reduced into a glaze if desired.
  • If you don’t discard some of the juice and use it all in the recipe, you’ll end up with soggy crust or having the juice spill out all over the baking sheet and burn.
  • Brushing the crust with some egg white will also help with preventing it from being soggy.

Delicious variations

  • You can add citrus zest like lemon or orange to brighten up the filling.
  • For a fancy plum almond galette version, you can roll out or press some almond paste to the bottom of the crust before adding the sliced fruits on top, similar to this Almond Apple Tart.
  • Change up the spices to suit your mood: allspice, cardamom, cloves, and ginger all go well with plums.
  • Add in a mix of stone fruits like apricots, nectarines and peaches.

Can I use store bought pie dough?

Absolutely, you can save time by using store bought pie dough. Just be sure to buy one you can roll out and not one that’s already shaped into a pie pan.

How to store leftover

You can leave leftovers on the counter overnight but if you’re planning to keep them for more than a few days, it is best to refrigerate. Refrigerated, the plum galette will last for 5 days to a week. 

You can serve it cold straight from the refrigerator or yo

Peach Coffee Cake with Streusel Topping

Web Admin 0 130 Article rating: No rating

Peach Coffee Cake with Streusel Topping

a photo of a piece of peach coffee cake topped with a streusel topping and a creamy white drizzle.

This Peach Coffee Cake with streusel topping is the perfect recipe for late summer. Moist vanilla cake, juicy peaches and crunchy cinnamon streusel. Make it with fresh or canned peaches – either way, you’ll love this easy coffee cake recipe.

Late summer is one of my favorite times of the year. The weather is hot, the sun is shining, and grocery stores are full of fresh summer produce. As a child, my parents would typically plan our family vacations in late summer – so it always meant that we’d get a little extra spoiled too.

Of course, nowadays summer is a lot busier than it was back then. But in late summer I always try to make it home for a visit. We’ll sit on the back deck reading and relaxing, and it’s always good to have a perfect summer treat to enjoy at the same time.

And that’s exactly what this Peach Coffee Cake is for. It’s a moist, perfectly soft, buttery vanilla cake. Then there’s a layer of juicy peaches, cinnamon streusel topping, and a drizzle of vanilla glaze.

Recommended Equipment

Before You Begin…

As always with baking, get your oven preheating and then pull out the butter to start softening and the buttermilk to come to room temperature. Then get started on the cinnamon streusel topping first.

What Do I Need for Peach Coffee Cake?

All of the ingredients for this recipe are straightforward, pantry and fridge staples except for the peaches. Grab those fresh juicy peaches, and here is what else you will need…

RSS
First34568101112Last