Crispy Ranch Air Fryer Chickpeas

Web Admin 0 446 Article rating: No rating

Sharing this quick and healthy snack recipe for crispy ranch air fryer chickpeas!

Hi hi! How is the day going? We’re chilling here at home and taking it easy today. I’ve been studying, cleaning, participating in retail therapy, and cooking some tasty eats. I made these super delicious air fryer chickpeas and wanted to share the recipe with you.

The kids and I LOVE the Bienas chickpea snacks (we order them from Thrive Market!) but they tend to be a little on the pricey side, especially when the three of us consume a bag in a single sitting. I was looking at them the other day and thought it would be a fun experiment to make them on my own.

It was way easier than I thought and I made a giant batch that we enjoyed yesterday afternoon. These will definitely be making another appearance as part of meal prep and packed lunch snacks for the kids.

Crispy Ranch Air Fryer Chickpeas

Here are the ingredients to make these lil beauties:

2 cans of chickpeas, drained and rinsed

Avocado oil (you can also use olive oil)

Seasoning of choice. Since I did a ranch version, I included onion powder, garlic powder, dried parsley, dried dill, dried chives, salt and pepper. You can also get wild and use Everything But the Bagel Seasoning, Dill Pickle seasoning, curry, anything you like!

How to make crispy air fryer chickpeas

Step one

Drain and rinse the chickpeas. Gently pat dry with a paper towel. Preheat the air fryer to 390.

Step two

Lightly coat the chickpeas with a drizzle of oil and make sure that they’re fully coated.

Step three

Make the seasoning mix in a separate bowl. Stir well and sprinkle the chickpeas with the seasoning mix.

Step four

Add the chickpeas to the air fryer, and make sure they’re evenly spread out. Gently season with salt and pepper.

Step five

Air fry for 12-15 minute

How to Make and Flavor Kombucha at Home

Web Admin 0 495 Article rating: No rating

Sharing tips on how to make and flavor your own kombucha at home!

Hi friends! Hope you’re having a lovely morning! This week is a bit bonkers and we’re enjoying time with some friends who are here from Florida! I’ll be back on Friday with some faves, but in the meantime, here’s a post from the archives. If you’re curious about making your own kombucha at home, here’s the full how-to!

So, it FINALLY HAPPENED.

homemade kombucha

After about a year (maybe a little longer?) of inconsistently making kombucha at home, I finally made some that tastes even better than store-bought stuff.

Orange Cranberry Ginger Homemade Kombucha

Orange Cranberry Ginger Homemade Kombucha

It was getting really close, and I was happy with the flavor combos I’d tried, but it was always a little too tangy, too sweet, not fizzy enough, etc.

After quite a bit of experimentation, I got the result I’d been searching for; it was a glorious moment indeed. A warm embrace was shared with the kombucha jar before holding the scoby in the air like a baby Simba while singing a celebratory chant.

(Ok, just in my mind.)

Tips on How to Make Kombucha at Home

-I followed the steps in this post, but will outline them again, updated with the current techniques.

1) The quality of the scoby (the starter bacteria that looks like a flat, opaque gummy disk) makes all the difference in the world. I got an awesome scoby from Amazon, but I’ve also ordered a dud that ended up molding. (A little tidbit about mold: a lot of people are rightfully fearful about making moldy or bad kombucha. If the batch is bad, it’s an obvious thing. You will know it’s bad just by looking at it. The scoby will have blue or greenish patches on it, and well, it will look like mold. Don’t drink it; throw it away to start over.) The scoby I picked up from the farmer’s market in Ocean Beach is a BEAST.

(I got a bottle from the farmer’s market, filled with scoby strands and starter tea. To say I was skeptical would be an understatement. Shame on me.)

I’ve made multiple batches with said amazing scoby and also gave one to Whitney; she now has a full-up scoby hotel.

I like ‘em thick.

Read more

The best dairy-free broccoli salad

Web Admin 0 562 Article rating: No rating

Sharing a recipe for the best dairy-free broccoli salad. This is the perfect side dish for dinners, delicious leftovers for lunch, and an awesome healthy summer BBQ or potluck side dish.

Hey friends! How’s the day going so far? We’re back in town after a trip to Phoenix for Nationals, and have a mountain of laundry + have some virtual 1:1 appointments.

For today’s post, I thought I’d share a summer side dish recipe! Whenever we have friends over during the summer, finding recipes for the *fun* stuff like appetizers and desserts is always super easy. I always like to make sure we have some kind of salad or vegetable, and am always looking for new favorites. Mia recently shared her favorite broccoli salad recipe with me and I knew I had to post it here on the blog! It lasted about 15 minutes in our house.

I accidentally found out that the girls love raw broccoli when we were low on groceries and I was running out of options while packing their lunch + snacks for school. I’ll typically roast broccoli with dinner and they tend to be pretty meh about it. I needed one more spot to fill in their lunch bento boxes, so I added some raw chopped broccoli. When I picked them up, they both said how much they loved the broccoli in their lunch, and I’ve been adding it ever since. This broccoli salad was a HUGE hit in our house – we each had a bowl and it was gone.

Broccoli salad is a great source of fiber and vitamins. It’s also dairy-free, and includes blanched broccoli, which still has a crunch, but can be easier to digest than raw. You simply mix all of the ingredients into a bowl and enjoy! It’s also a versatile recipe; feel free to customize it as you like. You can swap out the almonds for another type of nut, or use a different type of dried fruit (like dried cranberries or raisins) instead of the dates. Just make sure that you don’t skip the celery seed, as it gives it a unique flavor and crunch.

The best dairy-free broccoli salad

Ingredients

1 head of broccoli (or a 12 oz bag of pre cut florets)

Avocado oil mayo (Chosen foods, Sir Kensington or homemade. I like to make my own, or order Sir Kensington from Thrive Market)

Maple syrup (or honey) for a little bit of sweetness

Celery seed – don’t omit this ingredient!

Salt & pepper, to taste

On

Workout and Red Velvet Protein Muffins

Web Admin 0 538 Article rating: No rating

This post is sponsored by my friends at NOW Foods. I’ve been a fan of NOW® products for years and am so thrilled to be partnering with them for this post. Check out their site here and use the code FITNESSISTA for 20% off through 12/31/22! They have an amazing selection of supplements, essential oils, beauty and health products, pet products, and sports nutrition. 

Hi friends! How’s the morning going so far? I hope you’re enjoying the day! Since I’ve been home with the kids this summer, I’ve found my way back to quick and efficient at-home workouts. A workout doesn’t have to be long or insanely intense to reap the benefits; a short block of movement and I’m feeling energized and ready to tackle the rest of the day.

Here’s a workout circuit I’ve been enjoying lately. You can do this one anywhere and all you need is your own body weight, which makes it an ideal travel workout. With a warmup (I like 7 minutes of easy cardio), you can complete the whole workout in less than 30 minutes.

As always, check with a doctor before making any fitness changes. Honor your body and modify as needed.

Total Body Bodyweight Blast

Squat to single-leg deadlift (touch the floor):

Place your feet just under your shoulders with toes slightly angled out. Keep your chest lifted and a tight core as you sink back and down into your squat. Pretend like there is a chair behind you, and you’re going to tap your booty to the chair. The weight should remain in your heels. As you rise, come into a single-leg deadlift with both hips square to the floor and touching the floor. Switch sides.

Curtsy lunge to side leg lift:

Start with one leg forward, and toes angled out 45 degrees. Step your other foot totally back behind the front, so that your foot is behind the opposite shoulder. Sink low into a curtsy lunge, them as you exhale, lift the back leg out to the side. Really think about squeezing your glutes to lift your leg. Make sure that you take a nice big step back and to the side for your curtsy lunge.

Inchworm sprawl:

Start standing and walk your hands to bring your body into a plank position. Jump your feet to the outside of your hands, then back to plank position. Walk your hands back to your feet, stand, and repeat. For low-impact, try this against a wall.

Push-

gluten-free cashew chicken (with a secret ingredient!)

Web Admin 0 534 Article rating: No rating

Sharing a recipe for gluten-free cashew chicken that will change your liiiiiife. Not even joking.

Hi hi! How’s it going? I hope you’re having a lovely morning. Today is a day off from the gym (taught dance cardio, barre, and aerobics all in a row and ya girl is spent), so I’m looking forward to reading by the pool with the crew and also getting some content done for an upcoming partner post with NOW Foods (you can use FITNESSISTA for 20% off sitewide! They have SO much amazing stuff). I also have a 1:1 client call and am getting some stuff done around the house.

For today’s post, I have a new quick and easy dinner recipe for you that was a home run: gluten-free cashew chicken.

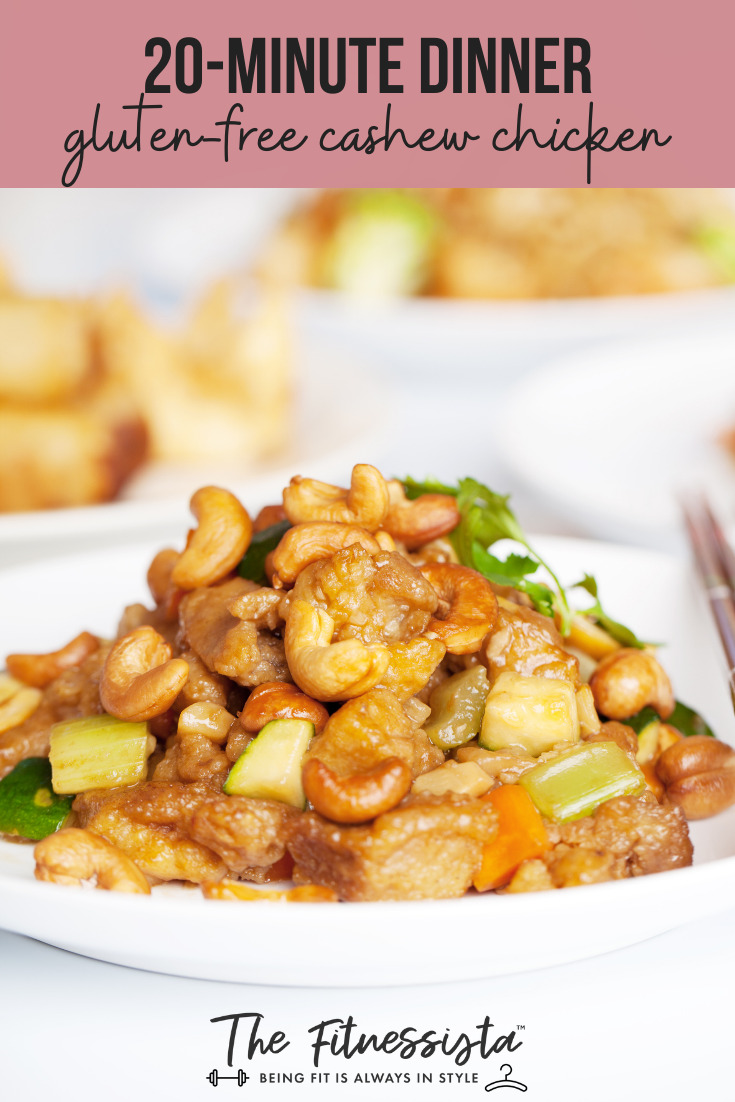
TBH, I LOVE Chinese takeout. It makes my soul so happy, but I typically end up feeling a little bloated afterwards and kind of blah. Fried food just doesn’t love me back, so I don’t eat it super often.

I was craving cashew chicken, but didn’t have the things I usually like to coat chicken for air frying: out of almond flour, coconut flour, arrowroot, everything.

In the pantry, I saw this bag of pancake mix staring at me, and figured I’d give it a whirl.

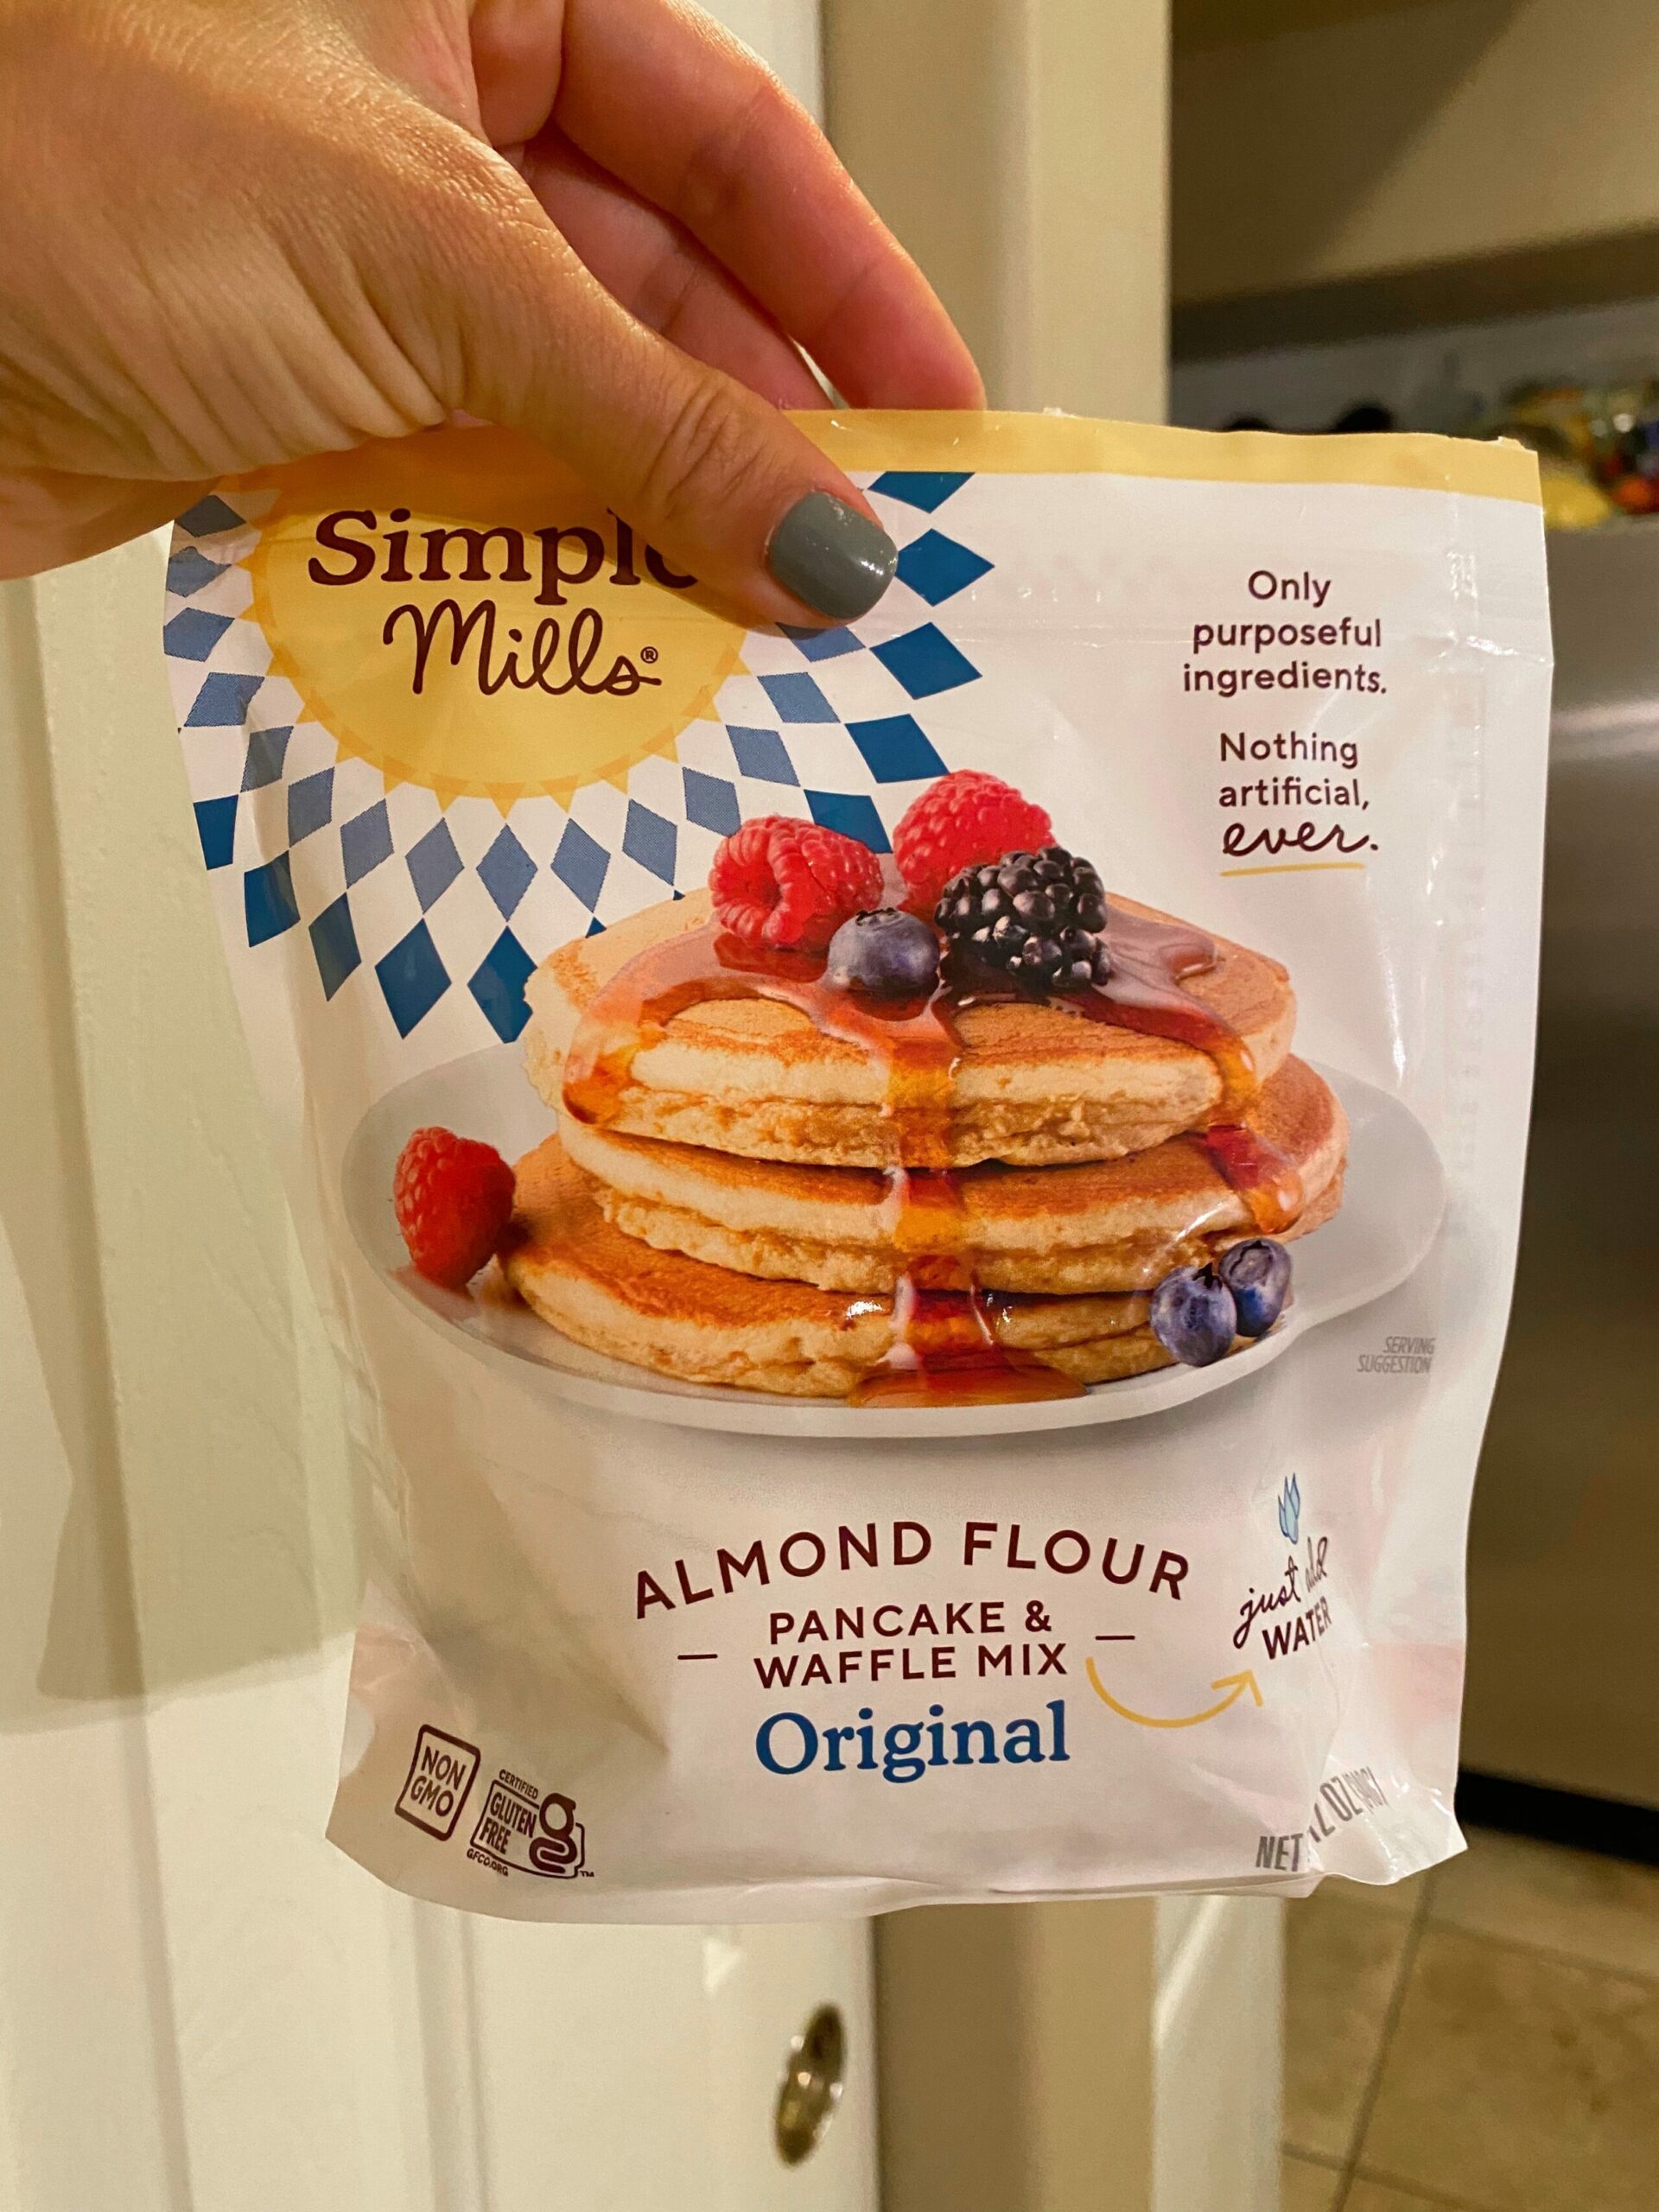
This is a game changer, friends.

It has so many great ingredients for coating or breading chicken (you could totally use this for fish, shrimp, or tofu) and very little mixing required. Just season the heck out of it with salt and pepper, make a little egg bath (about 2 eggs with a little water) and you’re good to go.

Heads up with this recipe: you do need an Air Fryer. (It’s $87 right now!)

I fought buying one for at least two years and now that I have one, I’m like how the heck did I live without you for so long?! You can cook so many things in the air fryer, but our favorites are frozen fries (they crisp up beautifully), teriyaki salmon, chicken wings, bacon (the BEST way to cook regular and turkey bacon!) and quick veggie and protein dinners (like chopped chicken sausage, veggies, and potatoes).

I coated some diced chicken with egg and then popped it into a bowl with the pancake mix, and stirred to coat. Next I sprayed the air fryer basket (preheated at 375), added the chicken and cooked for 12-15 minutes, flipping once. I made sure it was done – always use a meat thermomet

RSS
1234