Blackberry Cucumber Cocktail

Web Admin 0 401 Article rating: No rating

Sharing a recipe for a delicious and refreshing blackberry cucumber cocktail!

Hi hi! How’s the day going so far? I hope you’re having a great morning. I’m catching a yoga class and spending the rest of the day working on some stuff for Fit Team and the podcast.

For today’s post, I wanted to share a super delicious and EASY cocktail recipe. This one is courtesy of my brother Kyle, and we learned how to make this while we did his Cocktails in the Kitchen class at Miraval.

TBH, I haven’t experimented with cocktails too much. I feel like they can be intimidating, and while I can follow a recipe, I don’t tend to be very creative with cocktails. (Worth mentioning here that I do make a very lovely margarita, but that’s about where it ends.) He had our stations set up with fresh herbs, berries, tools, and gin, and before we knew it, we were cheers-ing each other with the freshest libation I’d had in a long time. I’m so pumped to share the recipe with you!

Blackberry Cucumber Cocktail

Ingredients

Cucumber

Mint

Basil

Blackberries

Simple syrup (equal parts honey and water)

Lemon

Lime

Gin

Ice

Instructions

Muddle all of the ingredients (minus the gin).

Next, add in the gin. Shake, strain, and garnish!

Kyle gave

Crispy Ranch Air Fryer Chickpeas

Web Admin 0 448 Article rating: No rating

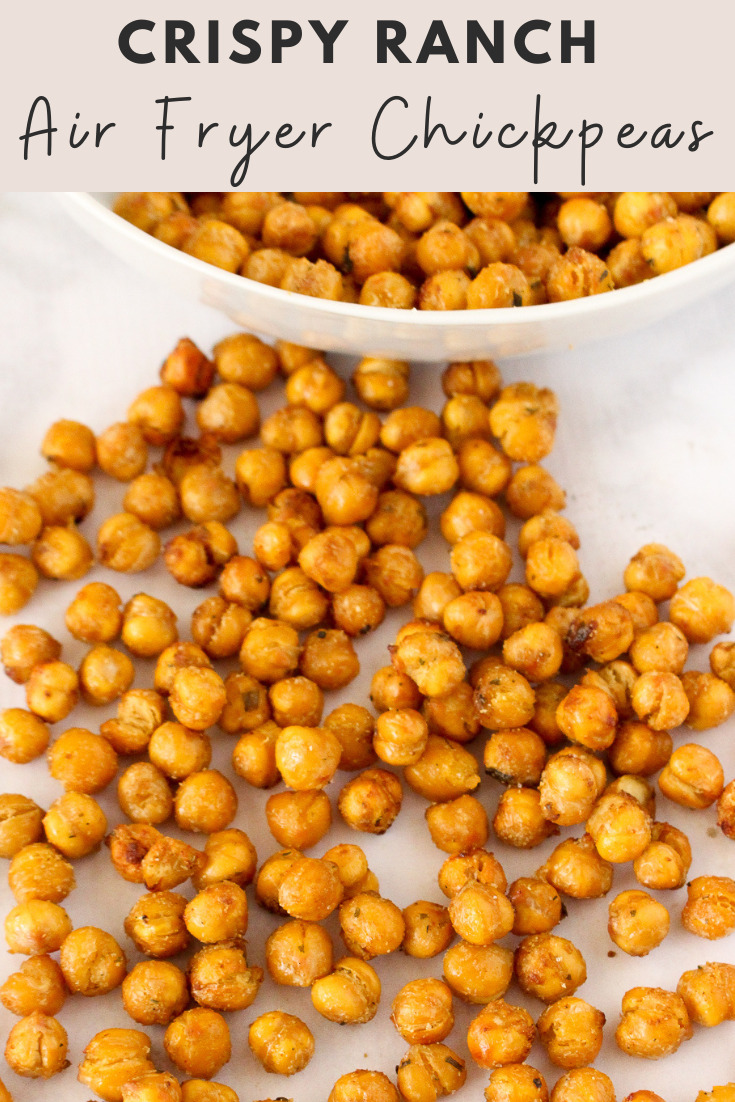
Sharing this quick and healthy snack recipe for crispy ranch air fryer chickpeas!

Hi hi! How is the day going? We’re chilling here at home and taking it easy today. I’ve been studying, cleaning, participating in retail therapy, and cooking some tasty eats. I made these super delicious air fryer chickpeas and wanted to share the recipe with you.

The kids and I LOVE the Bienas chickpea snacks (we order them from Thrive Market!) but they tend to be a little on the pricey side, especially when the three of us consume a bag in a single sitting. I was looking at them the other day and thought it would be a fun experiment to make them on my own.

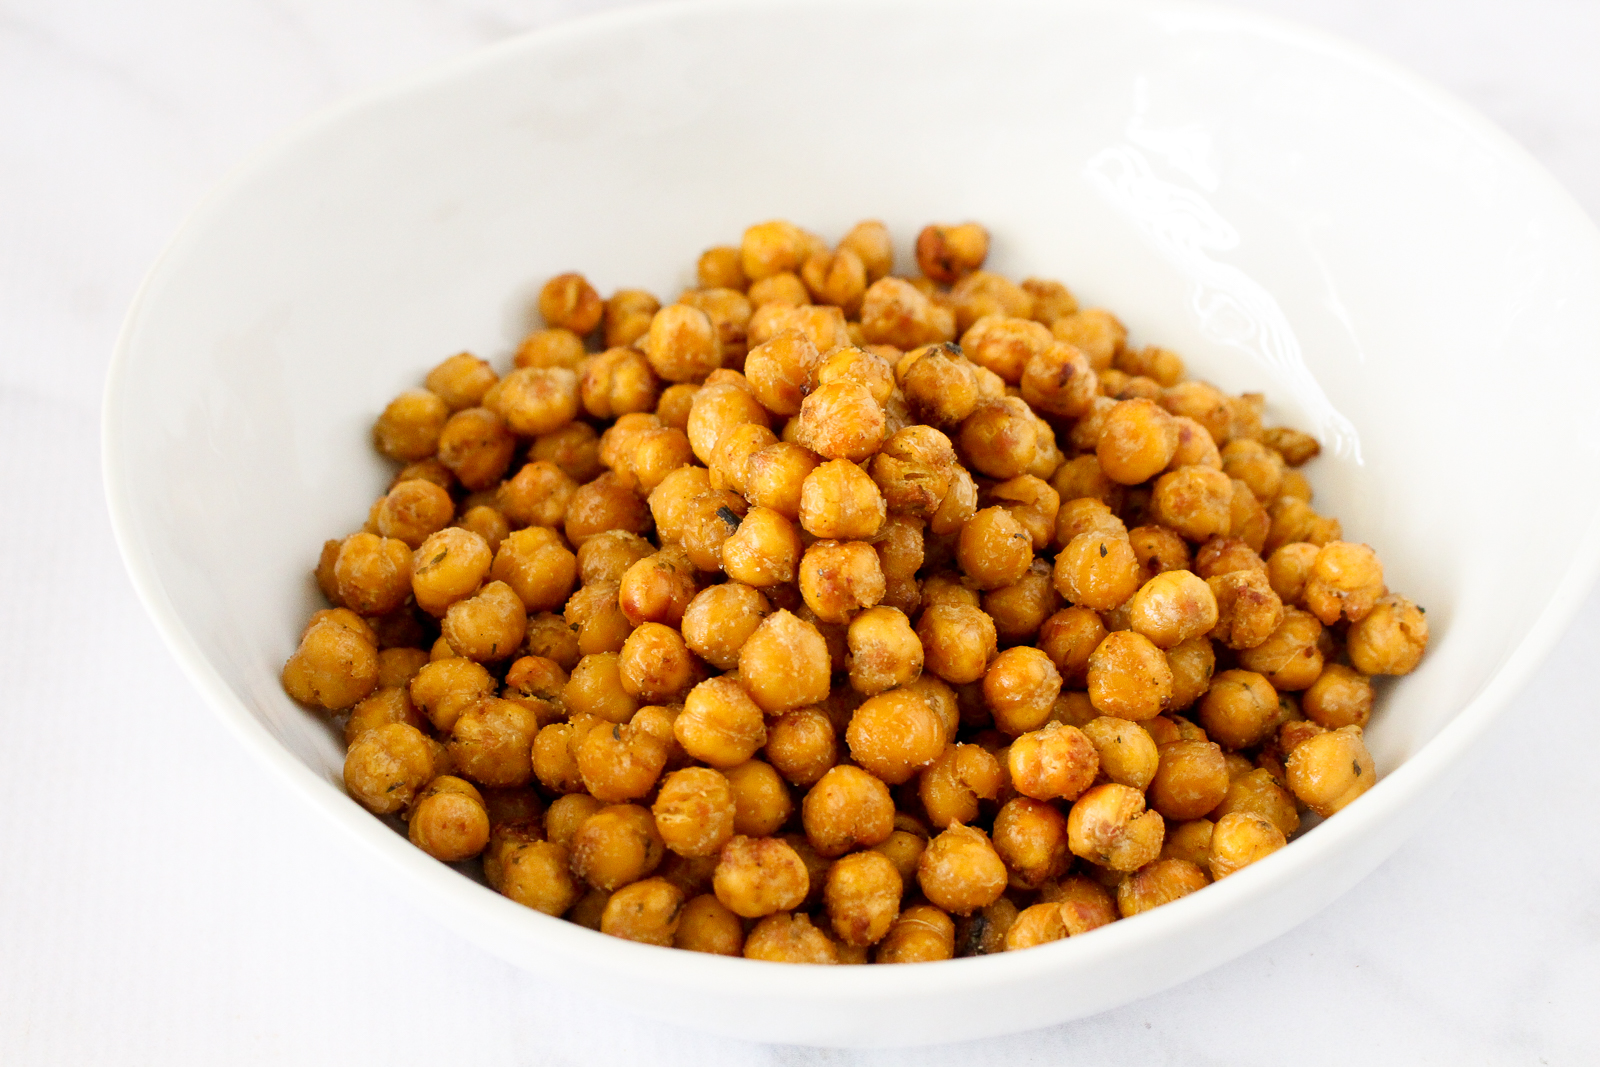
It was way easier than I thought and I made a giant batch that we enjoyed yesterday afternoon. These will definitely be making another appearance as part of meal prep and packed lunch snacks for the kids.

Crispy Ranch Air Fryer Chickpeas

Here are the ingredients to make these lil beauties:

2 cans of chickpeas, drained and rinsed

Avocado oil (you can also use olive oil)

Seasoning of choice. Since I did a ranch version, I included onion powder, garlic powder, dried parsley, dried dill, dried chives, salt and pepper. You can also get wild and use Everything But the Bagel Seasoning, Dill Pickle seasoning, curry, anything you like!

How to make crispy air fryer chickpeas

Step one

Drain and rinse the chickpeas. Gently pat dry with a paper towel. Preheat the air fryer to 390.

Step two

Lightly coat the chickpeas with a drizzle of oil and make sure that they’re fully coated.

Step three

Make the seasoning mix in a separate bowl. Stir well and sprinkle the chickpeas with the seasoning mix.

Step four

Add the chickpeas to the air fryer, and make sure they’re evenly spread out. Gently season with salt and pepper.

Step five

Air fry for 12-15 minute

How to Make and Flavor Kombucha at Home

Web Admin 0 497 Article rating: No rating

Sharing tips on how to make and flavor your own kombucha at home!

Hi friends! Hope you’re having a lovely morning! This week is a bit bonkers and we’re enjoying time with some friends who are here from Florida! I’ll be back on Friday with some faves, but in the meantime, here’s a post from the archives. If you’re curious about making your own kombucha at home, here’s the full how-to!

So, it FINALLY HAPPENED.

homemade kombucha

After about a year (maybe a little longer?) of inconsistently making kombucha at home, I finally made some that tastes even better than store-bought stuff.

Orange Cranberry Ginger Homemade Kombucha

Orange Cranberry Ginger Homemade Kombucha

It was getting really close, and I was happy with the flavor combos I’d tried, but it was always a little too tangy, too sweet, not fizzy enough, etc.

After quite a bit of experimentation, I got the result I’d been searching for; it was a glorious moment indeed. A warm embrace was shared with the kombucha jar before holding the scoby in the air like a baby Simba while singing a celebratory chant.

(Ok, just in my mind.)

Tips on How to Make Kombucha at Home

-I followed the steps in this post, but will outline them again, updated with the current techniques.

1) The quality of the scoby (the starter bacteria that looks like a flat, opaque gummy disk) makes all the difference in the world. I got an awesome scoby from Amazon, but I’ve also ordered a dud that ended up molding. (A little tidbit about mold: a lot of people are rightfully fearful about making moldy or bad kombucha. If the batch is bad, it’s an obvious thing. You will know it’s bad just by looking at it. The scoby will have blue or greenish patches on it, and well, it will look like mold. Don’t drink it; throw it away to start over.) The scoby I picked up from the farmer’s market in Ocean Beach is a BEAST.

(I got a bottle from the farmer’s market, filled with scoby strands and starter tea. To say I was skeptical would be an understatement. Shame on me.)

I’ve made multiple batches with said amazing scoby and also gave one to Whitney; she now has a full-up scoby hotel.

I like ‘em thick.

Read more

The best dairy-free broccoli salad

Web Admin 0 565 Article rating: No rating

Sharing a recipe for the best dairy-free broccoli salad. This is the perfect side dish for dinners, delicious leftovers for lunch, and an awesome healthy summer BBQ or potluck side dish.

Hey friends! How’s the day going so far? We’re back in town after a trip to Phoenix for Nationals, and have a mountain of laundry + have some virtual 1:1 appointments.

For today’s post, I thought I’d share a summer side dish recipe! Whenever we have friends over during the summer, finding recipes for the *fun* stuff like appetizers and desserts is always super easy. I always like to make sure we have some kind of salad or vegetable, and am always looking for new favorites. Mia recently shared her favorite broccoli salad recipe with me and I knew I had to post it here on the blog! It lasted about 15 minutes in our house.

I accidentally found out that the girls love raw broccoli when we were low on groceries and I was running out of options while packing their lunch + snacks for school. I’ll typically roast broccoli with dinner and they tend to be pretty meh about it. I needed one more spot to fill in their lunch bento boxes, so I added some raw chopped broccoli. When I picked them up, they both said how much they loved the broccoli in their lunch, and I’ve been adding it ever since. This broccoli salad was a HUGE hit in our house – we each had a bowl and it was gone.

Broccoli salad is a great source of fiber and vitamins. It’s also dairy-free, and includes blanched broccoli, which still has a crunch, but can be easier to digest than raw. You simply mix all of the ingredients into a bowl and enjoy! It’s also a versatile recipe; feel free to customize it as you like. You can swap out the almonds for another type of nut, or use a different type of dried fruit (like dried cranberries or raisins) instead of the dates. Just make sure that you don’t skip the celery seed, as it gives it a unique flavor and crunch.

The best dairy-free broccoli salad

Ingredients

1 head of broccoli (or a 12 oz bag of pre cut florets)

Avocado oil mayo (Chosen foods, Sir Kensington or homemade. I like to make my own, or order Sir Kensington from Thrive Market)

Maple syrup (or honey) for a little bit of sweetness

Celery seed – don’t omit this ingredient!

Salt & pepper, to taste

On

Workout and Red Velvet Protein Muffins

Web Admin 0 539 Article rating: No rating

This post is sponsored by my friends at NOW Foods. I’ve been a fan of NOW® products for years and am so thrilled to be partnering with them for this post. Check out their site here and use the code FITNESSISTA for 20% off through 12/31/22! They have an amazing selection of supplements, essential oils, beauty and health products, pet products, and sports nutrition. 

Hi friends! How’s the morning going so far? I hope you’re enjoying the day! Since I’ve been home with the kids this summer, I’ve found my way back to quick and efficient at-home workouts. A workout doesn’t have to be long or insanely intense to reap the benefits; a short block of movement and I’m feeling energized and ready to tackle the rest of the day.

Here’s a workout circuit I’ve been enjoying lately. You can do this one anywhere and all you need is your own body weight, which makes it an ideal travel workout. With a warmup (I like 7 minutes of easy cardio), you can complete the whole workout in less than 30 minutes.

As always, check with a doctor before making any fitness changes. Honor your body and modify as needed.

Total Body Bodyweight Blast

Squat to single-leg deadlift (touch the floor):

Place your feet just under your shoulders with toes slightly angled out. Keep your chest lifted and a tight core as you sink back and down into your squat. Pretend like there is a chair behind you, and you’re going to tap your booty to the chair. The weight should remain in your heels. As you rise, come into a single-leg deadlift with both hips square to the floor and touching the floor. Switch sides.

Curtsy lunge to side leg lift:

Start with one leg forward, and toes angled out 45 degrees. Step your other foot totally back behind the front, so that your foot is behind the opposite shoulder. Sink low into a curtsy lunge, them as you exhale, lift the back leg out to the side. Really think about squeezing your glutes to lift your leg. Make sure that you take a nice big step back and to the side for your curtsy lunge.

Inchworm sprawl:

Start standing and walk your hands to bring your body into a plank position. Jump your feet to the outside of your hands, then back to plank position. Walk your hands back to your feet, stand, and repeat. For low-impact, try this against a wall.

Push-

RSS
12345