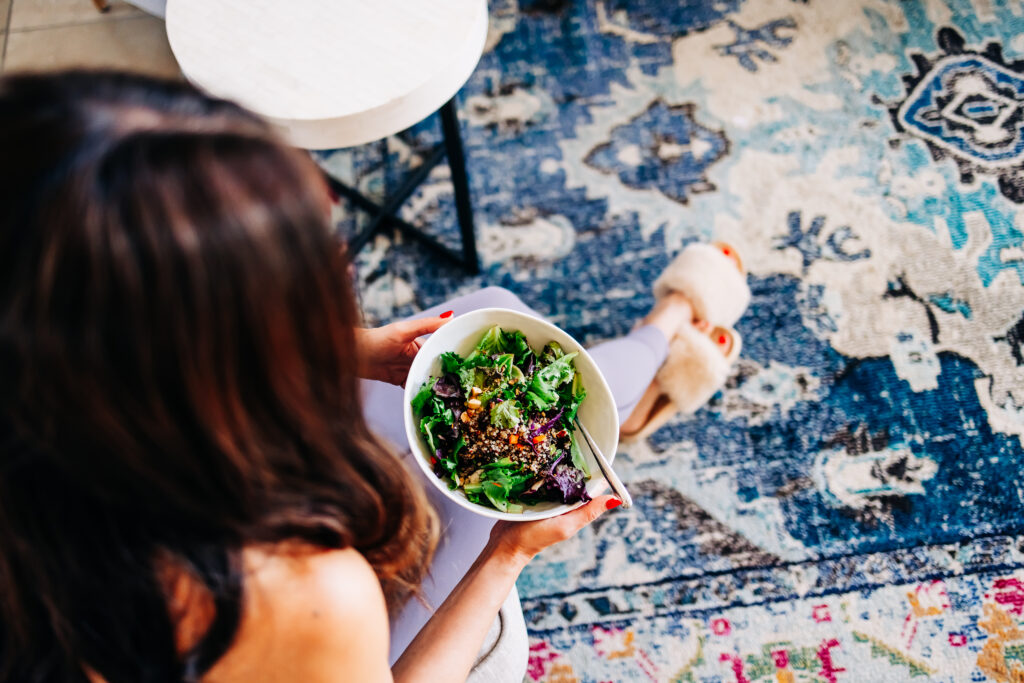
Spring Quinoa Salad with Artichokes, Feta, and Asparagus

Web Admin 0 33 Article rating: No rating

Hi friends! Happy humpday! Looking for a booty workout? Check out this one; it’s one of my very faves. I hope you’re enjoying the week so far!

Spring Quinoa Salad with Artichokes, Feta, and Asparagus

When I first wrote this post, we had just gotten back from an awesome Vegas vacay. It was so good to get back into the swing of things and back in the routine of the girls’ classes and lessons, teaching fitness classes, and catching up on work stuff.  It also felt good to eat some home-cooked food! When we travel, I try to stick to one indulgent meal each day and go for my normal eats for the most part, but Vegas is a little different. It was easy for me to make healthy choices for breakfast, but you definitely have to take advantage of all of the fantastic entree and dessert options. 😉

I was also like, “I can’t wait to eat a vegetable when we get back” but then I looked in our fridge, it was pretty much empty, and I ended up eating coconut milk salted caramel ice cream for lunch. I guess I was still in Vegas mode. 😉 Once I was finally able to replenish the fridge, I created this little on-the-fly salad with some of the new grocery stash.

Spring artichoke asparagus quinoa salad

This salad is perfect for any upcoming spring parties or picnics, and includes two of the “great A’s”: artichokes and asparagus. It has fresh, flavorful, and bright lemon flavors from the lemon juice + zest, and since it’s quinoa-based, it’s sturdy enough to last a few days in the fridge so you can make it in advance! I made it as part of this week’s meal prep (along with some grilled chicken, amazeballs, and protein baked oatmeal) so I could easily eat it alone on top of salad greens or with grilled chicken or tuna for an easy lunch.

ingredients

This salad is filling and satisfying, plus it’s gluten-free. Vegan friends can omit the feta cheese, or add in their favorite vegan cheese, for a vegan option

Plus it’s one of those, “toss everything in a bowl and forget about it” kinda recipes, which means I’m a fan.

Read more

5 High Protein Meal Prep Recipes

Web Admin 0 223 Article rating: No rating

Sharing 5 high-protein meal prep recipes! Some new inspiration if you’re looking to amp up your protein intake.

Hi friends! How are ya? I hope you’re having a lovely morning. We’re coming out the other side of the dance competition straight into dance picture night at the studio (WHEW) and I’m looking forward to getting some work and studying for IHP done today. I’d love to hear about what you have going on!

Today, I want to talk about protein and the importance of healthy meal prep. Personally, I aim to consume 4-5 palm-sized servings of protein each day, considering factors such as my goals, activity level, and body composition. However, I’ve found that hitting this protein goal can be challenging if I haven’t done some advance planning and prepping. I’ve realized that having protein readily available in the fridge makes a significant difference. To make it easier to reach my daily protein target, I now dedicate time each week to chop veggies and prepare some protein staples. This way, I am better prepared to meet my protein needs and build muscle. In addition to protein, it’s important to focus on consuming omega-3 fatty acids, which are beneficial for overall health.

For today’s post, I’m sharing some super easy recipes with great sources of protein if you’re looking for new inspiration! These are meat-based, but here are some plant-based protein ideas for my veggie and vegan friends: tempeh bacon, edamame, black beans, mung bean pasta, sprouted tofu scramble, and lentils in the instant pot.

5 High Protein Meal Prep RecipesI had to use a stock photo because I have a hard time making meat look appetizing… and I think the asparagus is fake?? Taking votes)

5 High Protein Meal Prep Recipes

Whole Chicken in a Crockpot

  • Prep time: 15 min
  • Cook Time: 4-6 hours/ 8 hours

Ingredients:

  • 1- 3.5-4.5lb whole chicken, giblets removed, patted dry
  • 1 sweet onion, chopped
  • Salt, to taste
  • Pepper, to taste

Directions:

Place onion in the bottom of a 6 qt crock pot. Add the chicken, breast side down. No liquid is needed as the chicken will make its own juices with the onion and grease from the fat from the chicken skin. Season liberally with salt and pepper. Cook on low for 8 hours or high for 4-6 hours until the internal temperature is 165 at the thickest part of the chicken. Cool completely, remove skin & bones, and shred the chicken or cut whole pieces of thighs, breasts, and wings to store for meals throughout the week.

Crispy Ranch Air Fryer Chickpeas

Web Admin 0 439 Article rating: No rating

Sharing this quick and healthy snack recipe for crispy ranch air fryer chickpeas!

Hi hi! How is the day going? We’re chilling here at home and taking it easy today. I’ve been studying, cleaning, participating in retail therapy, and cooking some tasty eats. I made these super delicious air fryer chickpeas and wanted to share the recipe with you.

The kids and I LOVE the Bienas chickpea snacks (we order them from Thrive Market!) but they tend to be a little on the pricey side, especially when the three of us consume a bag in a single sitting. I was looking at them the other day and thought it would be a fun experiment to make them on my own.

It was way easier than I thought and I made a giant batch that we enjoyed yesterday afternoon. These will definitely be making another appearance as part of meal prep and packed lunch snacks for the kids.

Crispy Ranch Air Fryer Chickpeas

Here are the ingredients to make these lil beauties:

2 cans of chickpeas, drained and rinsed

Avocado oil (you can also use olive oil)

Seasoning of choice. Since I did a ranch version, I included onion powder, garlic powder, dried parsley, dried dill, dried chives, salt and pepper. You can also get wild and use Everything But the Bagel Seasoning, Dill Pickle seasoning, curry, anything you like!

How to make crispy air fryer chickpeas

Step one

Drain and rinse the chickpeas. Gently pat dry with a paper towel. Preheat the air fryer to 390.

Step two

Lightly coat the chickpeas with a drizzle of oil and make sure that they’re fully coated.

Step three

Make the seasoning mix in a separate bowl. Stir well and sprinkle the chickpeas with the seasoning mix.

Step four

Add the chickpeas to the air fryer, and make sure they’re evenly spread out. Gently season with salt and pepper.

Step five

Air fry for 12-15 minute

Workout and Red Velvet Protein Muffins

Web Admin 0 529 Article rating: No rating

This post is sponsored by my friends at NOW Foods. I’ve been a fan of NOW® products for years and am so thrilled to be partnering with them for this post. Check out their site here and use the code FITNESSISTA for 20% off through 12/31/22! They have an amazing selection of supplements, essential oils, beauty and health products, pet products, and sports nutrition. 

Hi friends! How’s the morning going so far? I hope you’re enjoying the day! Since I’ve been home with the kids this summer, I’ve found my way back to quick and efficient at-home workouts. A workout doesn’t have to be long or insanely intense to reap the benefits; a short block of movement and I’m feeling energized and ready to tackle the rest of the day.

Here’s a workout circuit I’ve been enjoying lately. You can do this one anywhere and all you need is your own body weight, which makes it an ideal travel workout. With a warmup (I like 7 minutes of easy cardio), you can complete the whole workout in less than 30 minutes.

As always, check with a doctor before making any fitness changes. Honor your body and modify as needed.

Total Body Bodyweight Blast

Squat to single-leg deadlift (touch the floor):

Place your feet just under your shoulders with toes slightly angled out. Keep your chest lifted and a tight core as you sink back and down into your squat. Pretend like there is a chair behind you, and you’re going to tap your booty to the chair. The weight should remain in your heels. As you rise, come into a single-leg deadlift with both hips square to the floor and touching the floor. Switch sides.

Curtsy lunge to side leg lift:

Start with one leg forward, and toes angled out 45 degrees. Step your other foot totally back behind the front, so that your foot is behind the opposite shoulder. Sink low into a curtsy lunge, them as you exhale, lift the back leg out to the side. Really think about squeezing your glutes to lift your leg. Make sure that you take a nice big step back and to the side for your curtsy lunge.

Inchworm sprawl:

Start standing and walk your hands to bring your body into a plank position. Jump your feet to the outside of your hands, then back to plank position. Walk your hands back to your feet, stand, and repeat. For low-impact, try this against a wall.

Push-

RSS