The Best Gluten-Free Brownies

Web Admin 0 143 Article rating: No rating

Fudgy and delicious, these are the best gluten-free brownies! They’re actually the best brownies ever, gluten-free or not! I’m so excited to share the recipe with you and hope you love them as much as I do! This is an older post that got a little photo refresh.. and we got to eat a ton of brownies.

Halloween Rice Krispie Treats Recipe

Web Admin 0 251 Article rating: No rating

Sharing some festive ways to enjoy rice crispies this Halloween season!

With the spookiest day of the year just around the corner, I can feel the excitement in the air. Halloween isn’t just about costumes and pumpkins; it’s a fun time to bake up some tasty treats!

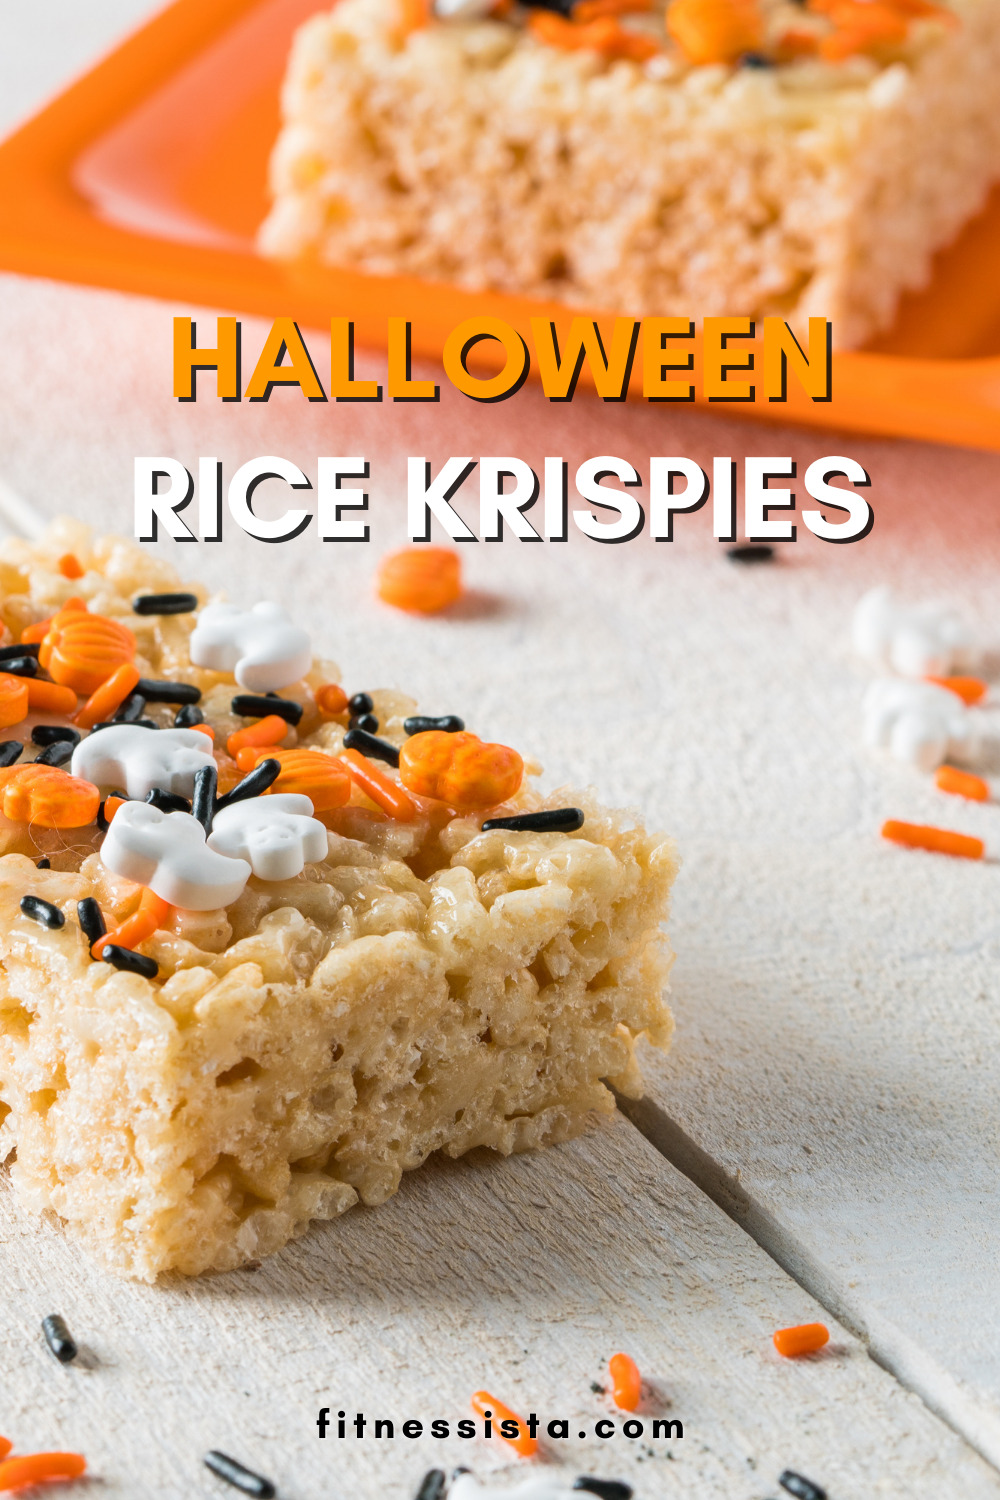
Today, I’m sharing a delightful Halloween Rice Krispie Treats recipe—a perfect blend of gooey, crispy goodness that will surely add a touch of magic to your Halloween festivities. Rice crispies are one of my all-time favorite treats; they’re gluten-free, SO delicious, easy to customize, and the kids love them.

Halloween Rice Krispie Treats Ideas

Spooky Shapes and Silhouettes

Transform your ordinary Rice Krispie Treats into Halloween-themed shapes. Use cookie cutters to mold them into ghosts, bats, or pumpkins. The kids will love getting involved in this creative process. For an extra eerie touch, add black food coloring to the mix.

How-to: Shape the freshly made Rice Krispie mixture with cookie cutters. Enhance the details with a piping bag filled with different colored icing.

Monster Mashup Madness

Unleash your imagination by turning your Rice Krispie Treats into a parade of friendly monsters. Use candy eyes, colorful icing, and various candies to create a variety of goofy, spooky, or silly monsters. It’s a fun way to get creative and like a little art project for the kiddos.

How-to: Decorate each treat with candy eyes, colored icing for features, and candies for added texture. Make each monster unique for a vibrant and playful Halloween treat.

Haunted Graveyard Delight

Take your Halloween Rice Krispie Treats to the next level by turning them into a haunted graveyard scene. Use crushed chocolate cookies for “dirt,” gummy worms for added spookiness, and small tombstone-shaped cookies for decoration.

How-to: Assemble the graveyard by placing tombstone cookies and gummy worms on top of the Rice Krispie surface. Dust with crushed cookies for a graveyard-inspired look.

Halloween Rice Krispie Treats Recipe

Ingredients:

3 tablespoons unsalted butter

1 package

Homemade Protein Ice Cream

Web Admin 0 397 Article rating: No rating

Sharing a recipe for homemade protein ice cream that’s rich and delicious; the perfect healthy dessert or protein-packed snack!

Hi friends! How is the day going? I hope you’re having a wonderful morning. How about a little ice cream for breakfast?

I have a super easy and delicious recipe to share with you today for homemade protein ice cream!

(I added peanut butter and chocolate chunks to this batch and it was a dreaaaaammmmmm)

Homemade Protein Ice Cream

We all know that protein is important. Not only is it the most satisfying macronutrient, protein is also the building block for our cells. It’s important in the fitness/health world because it can help us build and retain muscle, which is especially crucial as we age. We want to build and protect our muscle to help our bones and also protect our metabolism, as muscle is “hungrier” than fat and has a higher energy demand.

I tend to recommend around 1g per lb of ideal bodyweight (depending on SO many factors, like body composition, age, goals, preferred eating strategy, etc) but I like to aim for 1 palm-sized serving at each meal and snack.

This protein ice cream is a creamy and TASTY dessert, which packs an awesome serving of protein. It’s a great way to add variety to your protein sources while enjoying a sweet treat. I’m sharing the recipe with you today so you can recreate it at home!

Is Protein Ice Cream Healthy?

Protein ice cream is a great healthy treat, especially since this one includes some healthy fats (from coconut milk) and you can add any toppings you like, including peanut butter, nuts, or fruit. Please keep in mind that this should not be a substitute for *real* ice cream, if that’s what you’re craving. If you’re craving Ben and Jerry’s and try to make this as a substitute, it won’t fill the void for ya. 😉 Have some of the real deal, enjoy it, and move on with your life.

However, if you’re looking to add another protein-packed option

The Best Raw Chocolate Tart

Web Admin 0 377 Article rating: No rating

This raw chocolate tart, made with cashews and cocoa and an almond coconut crust is a decadent gluten-free dessert that doesn’t require any cooking!

What if I told you that you can make a decadent chocolate dessert that doesn’t require any cooking?

This raw chocolate tart is one of my favorite chocolate-y desserts. Not only is it made with real food ingredients, but it is also vegan, gluten-free, and raw-diet friendly. Remember when I got certified as a raw chef? (It feels like a lifetime ago) I actually posted this recipe years ago, but the pieces were hidden amongst random blurry photos and word soup and it really, really deserved its own post. It’s one of my top recipes I’ve posted on the blog ever!

Note: this tarte is not nut-free, but the nuts and coconut give it that decadent flavor.

This recipe can also be made ahead of time if you’re making it for a special occasion – simply store it in the fridge!

You can top it with fresh raspberries, sea salt, or coconut whipped cream – whatever your heart desires. Enjoy 🙂

The Best Raw Chocolate Tart

Ingredients for the Crust:

  • 1 1/2 cups almonds
  • 1 1/2 cups coconut
  • 1/2 cup maple syrup
  • 2 dates, pitted
  • 1 Tbsp. coconut oil
  • 1 Tbsp. vanilla
  • 1/4 tsp. salt
  • 1 tsp. almond extract – optional
  1. Measure the almonds, then in a Vitamix or a food processor, grind into a fine flour.
  2. Add the dates and chop with the almonds.
  3. In a large mixing bowl, add the maple syrup, almond/date mixture, melted coconut oil, vanilla, coconut, sea salt and extract (optional – I used almond). Add in about 1/2 cup more coconut if you need it – this mixture was a little too wet.
  4. Press the mixture into a large tart pan, or mini tart pans and dehydrate for 1 hour at 105 degrees. If you don’t have a dehydrator, place the tart crust in the oven on the lowest setting for 30 minutes.

Ingredients for the Filling:

  • 2 1/2 cups soaked raw cashews
  • 1 1/2 cups cacao powder
  • 1 cup maple syrup
  • 1/2 cup honey
  • 1 tsp. vanilla
  • 1/2 tsp. sea salt
  • 1/3 cup water
  • 3/4 cup melted coconut oil
  1. In a Vitamix blender, add the cashews, maple syrup, honey, vanilla, sea salt and water. Blend well until smooth and creamy.
  2.  Add the cacao powder and blend until mixture is
RSS